Transform Your Ride with a Professional-Looking Vinyl Wrap
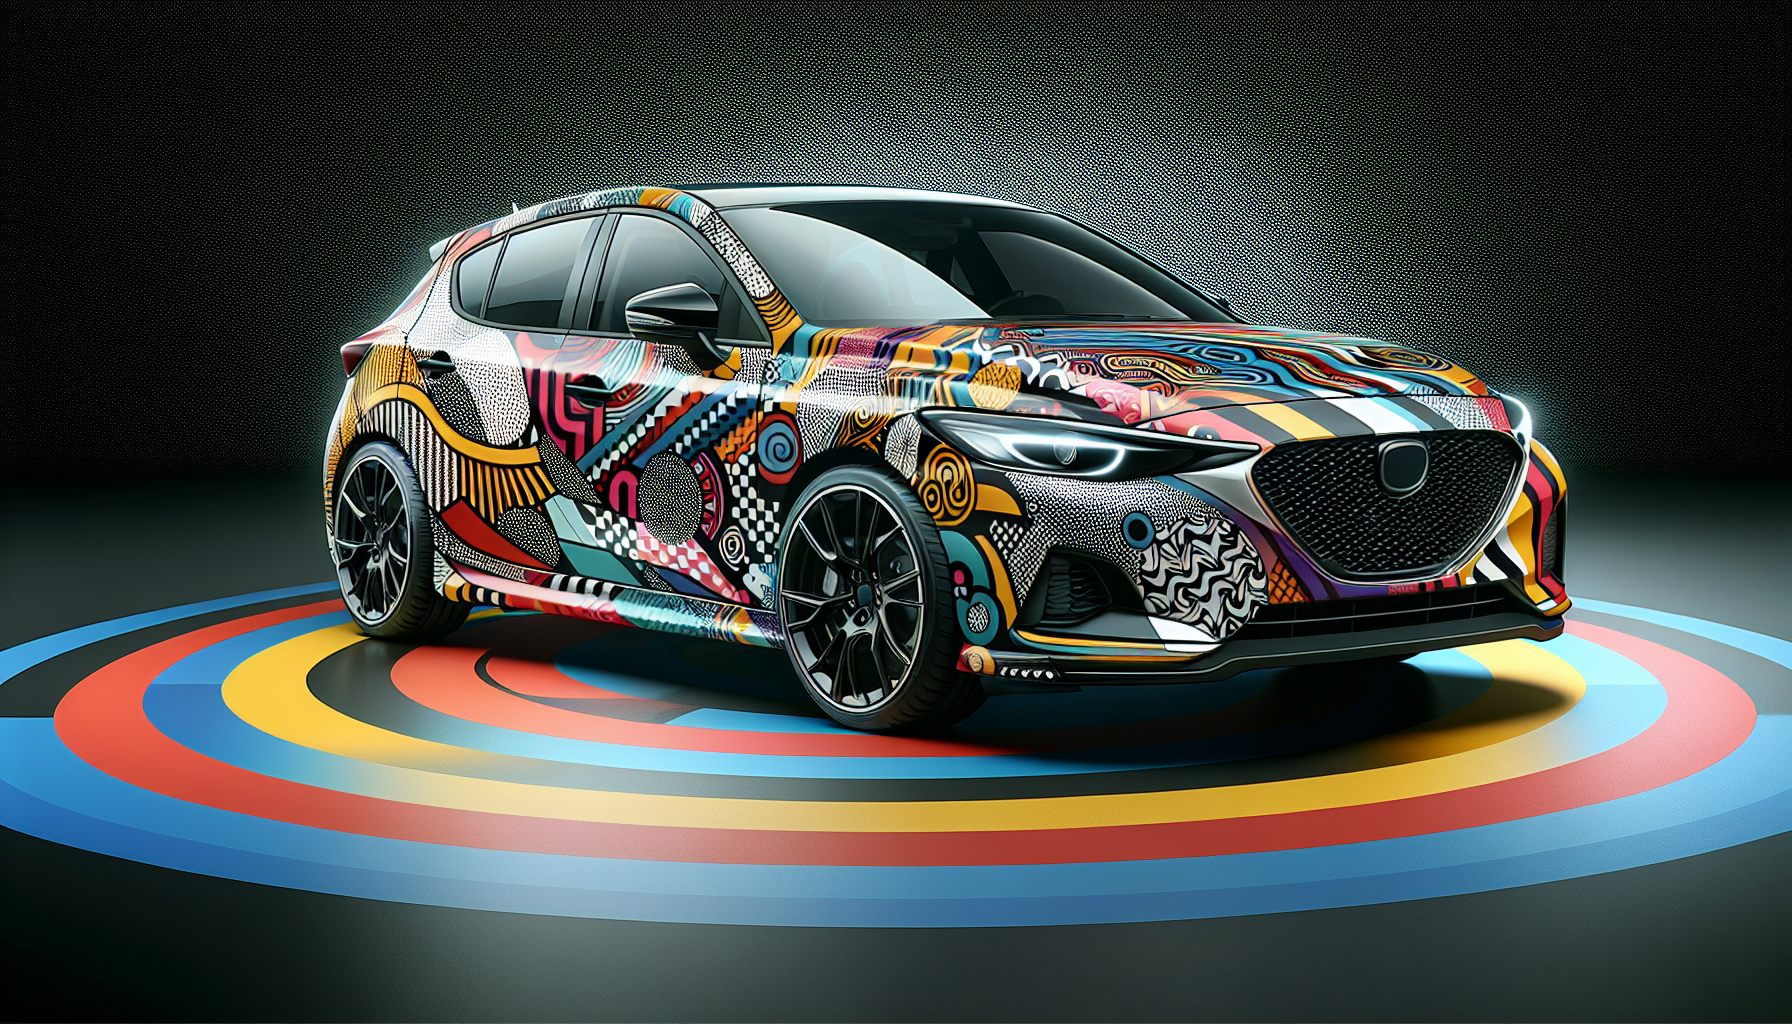
Are you tired of the same old paint job on your car? Do you want to give your vehicle a unique and personalized look that turns heads on the road? Vinyl wrapping is an excellent way to do just that! Not only does it provide a protective layer for your car’s paint, but it also allows you to express your creativity and individuality. However, a vinyl wrap installation can be a daunting task, especially if you’re new to it. That’s why we’ve put together this comprehensive guide to help you vinyl wrap your car like a pro. In this article, we’ll walk you through the essential steps to prepare your car, design your vinyl wrap, apply it with precision, and maintain it for a long-lasting finish.
With a little patience and the right techniques, you can achieve a professional-looking vinyl wrap that will make your car stand out from the crowd. Whether you’re looking to advertise your business, showcase your personality, or simply add some style to your daily commute, a vinyl wrap is an excellent way to do so. So, what are you waiting for? Let’s get started on this journey to transform your car into a stunning work of art!
In this step-by-step guide, we’ll cover every aspect of vinyl wrapping, from preparing your car’s surface to post-application care and maintenance. We’ll also provide you with expert tips and tricks to ensure a smooth, bubble-free installation. By the end of this article, you’ll be equipped with the knowledge and confidence to vinyl wrap your car like a pro and enjoy the many benefits that come with it.
1. Prepare Your Car for Vinyl Wrapping
Before you start wrapping your car, it’s essential to prepare the surface for a successful installation. A well-prepared vehicle ensures a strong bond between the vinyl wrap and the paint, resulting in a flawless finish. In this section, we’ll walk you through the critical steps to get your car ready for vinyl wrapping.
First, give your car a thorough cleaning to remove dirt, grime, and oils. This step is crucial as any impurities can prevent the wrap from adhering properly. Use a gentle car wash soap and avoid using high-pressure washes or harsh chemicals that can damage the paint. Once clean, degrease the surface using a specialized degreaser or a mixture of baking soda and water. This will ensure a strong bond between the wrap and the paint.
Next, inspect your car’s surface for any paint damage or chips. Touch up any imperfections to prevent the wrap from lifting or peeling. Additionally, remove any trim, emblems, or other obstacles that could interfere with the wrapping process. By following these essential steps, you’ll be well on your way to a successful vinyl wrap installation that will make your car stand out from the crowd.
Clean and Degrease the Surface
A clean and degreased surface is essential for a successful vinyl wrap installation. Any dirt, grime, or oils on the surface can prevent the wrap from adhering properly, leading to a poor finish. Start by giving your car a thorough wash using a gentle car wash soap. Avoid using high-pressure washes or harsh chemicals that can damage the paint. Use a soft-bristle brush to gently scrub any areas with heavy dirt or grime buildup.
Next, use a degreaser to remove any oils or waxes from the surface. You can use a specialized degreaser or a mixture of baking soda and water. Apply the degreaser to a microfiber cloth and wipe down the entire surface, paying special attention to areas with heavy oil or wax buildup. Make sure to rinse the surface thoroughly with water to remove any residue.
By cleaning and degreasing the surface, you’ll ensure a strong bond between the vinyl wrap and your car’s paint. This will result in a flawless finish that will last for years to come. Remember, a clean surface is key to a successful vinyl wrap installation, so take your time and do it right.
Fix Any Paint Damage or Chips
Before applying a vinyl wrap, it’s essential to inspect your car’s surface for any paint damage or chips. These imperfections can cause the wrap to lift or peel, leading to a poor finish. Take a close look at your car’s surface and identify any areas that need attention. Use a touch-up paint that matches your car’s original color to fix any chips or scratches.
When touching up paint damage, use a small brush to apply a thin layer of paint to the affected area. Make sure to blend the paint well with the surrounding area to avoid any noticeable edges. If the damage is more extensive, you may need to use a specialized paint repair kit or consult a professional auto body shop. Remember, it’s always better to be safe than sorry, and fixing paint damage now will save you headaches down the line.
By fixing any paint damage or chips, you’ll ensure a smooth, seamless finish for your vinyl wrap. This will not only make your car look amazing, but it will also protect the paint from further damage. Take the time to inspect and repair your car’s surface, and you’ll be rewarded with a professional-looking vinyl wrap that will turn heads on the road.
Remove Trim, Emblems, and Other Obstacles
Before applying a vinyl wrap, it’s essential to remove any trim, emblems, or other obstacles that could interfere with the wrapping process. These parts can get in the way of a smooth, seamless installation, and may even cause the wrap to lift or peel. Take the time to remove any trim, emblems, or other parts that could be affected by the wrap.
This may include removing door handles, trim pieces, or emblems that are attached to the surface of your car. Use a gentle touch and the right tools to avoid damaging the parts or the paint. Once removed, set the parts aside in a safe place to ensure they don’t get lost or damaged. By removing these obstacles, you’ll be able to apply the vinyl wrap smoothly and evenly, without any interruptions or complications.
Remember, removing trim, emblems, and other obstacles is a crucial step in the vinyl wrapping process. It may take some time and effort, but it’s worth it to ensure a professional-looking finish. By taking the time to prepare your car’s surface, you’ll be rewarded with a stunning vinyl wrap that will turn heads on the road. So, take a deep breath, grab your tools, and get ready to transform your car into a work of art!
2. Design Your Vinyl Wrap with Flair
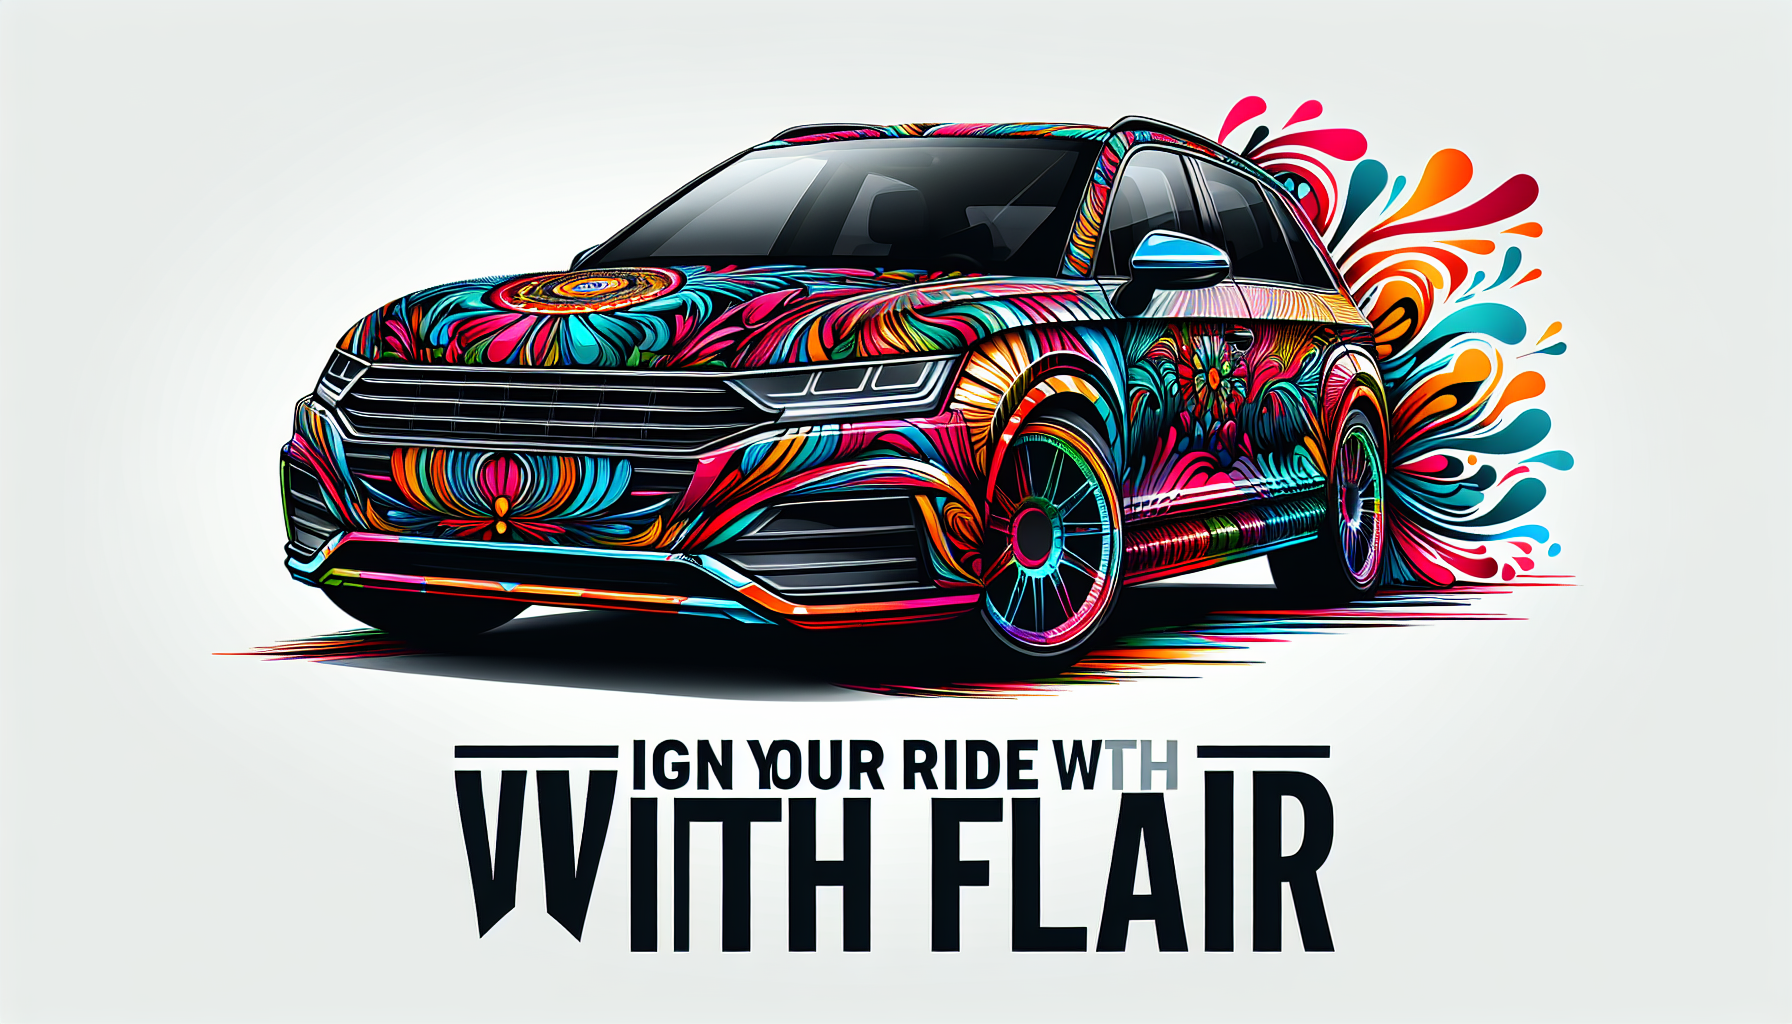
Designing your vinyl wrap is where the magic happens! This is your chance to unleash your creativity and create a visually stunning design that reflects your personality and style. Whether you’re looking for a bold and bright design or a sleek and sophisticated look, the possibilities are endless.
Start by brainstorming ideas and inspiration. Think about your favorite colors, patterns, and designs. You can also look to online resources, such as design websites and social media, for inspiration. Once you have a concept in mind, use a design software like Adobe Illustrator or Canva to bring your design to life. Don’t be afraid to experiment and try out different colors, fonts, and graphics until you land on a design that you love.
Remember, your vinyl wrap is a reflection of your personality and style, so have fun with it! Don’t be afraid to think outside the box and try out something unique and creative. With a little imagination and creativity, you can create a vinyl wrap that turns heads and makes a statement. So, get designing and unleash your inner artist!
Choose a Wrap Material that Fits Your Needs
With so many vinyl wrap materials available, choosing the right one can be a daunting task. But don’t worry, we’re here to help! The type of material you choose will depend on your desired aesthetic and the look you want to achieve. Do you want a sleek and shiny gloss finish, or a more subtle matte finish? Maybe you’re looking for a metallic or chrome finish to add some extra flair to your design.
Each material has its own unique benefits and characteristics. Gloss finishes, for example, are perfect for those who want a high-shine finish that really makes their design pop. Matte finishes, on the other hand, are great for those who want a more subtle, understated look. Metallic and chrome finishes add a touch of luxury and sophistication to any design. By choosing the right material, you can ensure that your vinyl wrap looks and feels amazing.
At the end of the day, the right material will depend on your personal style and the look you want to achieve. Take the time to research and explore your options, and don’t be afraid to ask for advice or guidance. With the right material, you’ll be able to create a vinyl wrap that truly reflects your personality and style. So, what are you waiting for? Get started on your vinyl wrap journey today!
Select a Color Scheme that Pops
Choosing the right color scheme for your vinyl wrap is a crucial step in the design process. You want to select a palette that not only complements your car’s original color, but also reflects your personal style and flair. After all, your car is a reflection of your personality, and the right color scheme can make all the difference.
When selecting a color scheme, consider the tone and mood you want to evoke. Do you want a bold and bright design, or a more subtle and understated look? You can also draw inspiration from your car’s original color, or choose a palette that contrasts with it for a bold and eye-catching effect. Remember, the key is to have fun and be creative! Experiment with different colors and combinations until you find the perfect fit.
Ultimately, the right color scheme will depend on your personal style and the look you want to achieve. Take the time to research and explore different options, and don’t be afraid to ask for advice or guidance. With the right color scheme, you’ll be able to create a vinyl wrap that truly stands out from the crowd. So, what are you waiting for? Get started on your vinyl wrap journey today and unleash your creativity!
Add Graphics, Logos, and Text with Care
Adding graphics, logos, and text to your vinyl wrap design is where the magic happens! This is your chance to get creative and make your design truly unique. With the right software, you can create custom designs and layouts that reflect your personality and style. Adobe Illustrator and Canva are two popular options that offer a range of tools and features to help you bring your design to life.
When adding graphics, logos, and text, it’s important to consider the overall aesthetic you want to achieve. Think about the size, shape, and color of your design elements, and how they will work together to create a cohesive look. You can also experiment with different fonts, effects, and textures to add depth and interest to your design. Remember, the key is to have fun and be creative! Don’t be afraid to try out new things and see what works best for your design.
By using software like Adobe Illustrator or Canva, you can create a professional-looking design that is sure to turn heads. With a little practice and patience, you’ll be able to create a vinyl wrap that is truly one-of-a-kind. So, what are you waiting for? Get started on your design journey today and unleash your creativity!
3. Apply the Vinyl Wrap with Precision
Applying a vinyl wrap can be a daunting task, but with the right techniques and tools, you can achieve a smooth, bubble-free installation. The key is to take your time and work methodically, section by section. Start by cleaning the surface of your car to ensure a strong bond between the wrap and the paint. Then, use a squeegee to apply the wrap, working from the center of the panel outwards.
As you apply the wrap, use a heat gun to soften the material and make it more pliable. This will help you to smooth out any air bubbles or wrinkles. Use a combination of slow, gentle strokes and quick, sharp pulls to remove any air bubbles that may form. Remember to work in small sections, taking breaks to inspect your work and make any necessary adjustments.
By following these expert tips, you can achieve a professional-looking vinyl wrap that will turn heads on the road. Remember to take your time, be patient, and work methodically. With the right techniques and tools, you can create a stunning vinyl wrap that will make your car stand out from the crowd. So, what are you waiting for? Get started on your vinyl wrap journey today!
Use the Right Application Fluid and Tools
When it comes to applying a vinyl wrap, having the right tools and materials can make all the difference. One of the most important investments you can make is in a good quality application fluid and squeegee. The application fluid helps to ensure a smooth, bubble-free finish, while the squeegee is used to apply the wrap and remove any air bubbles that may form.
A good quality application fluid should be specifically designed for vinyl wrap installation, and should be able to withstand the heat and pressure of the application process. Look for a fluid that is easy to apply, and that dries quickly to prevent any mess or streaks. A good squeegee, on the other hand, should be sturdy and durable, with a soft, rubberized edge that won’t scratch or damage the vinyl wrap.
By investing in the right application fluid and squeegee, you can ensure a smooth, professional-looking finish for your vinyl wrap. Remember, the little details can make a big difference in the overall look and feel of your wrap. So, take the time to research and invest in the right tools and materials, and you’ll be rewarded with a stunning vinyl wrap that will turn heads on the road.
Start with the Most Visible Areas
When it comes to installing a vinyl wrap, it’s all about the details. One of the most important steps is to start with the most visible areas of your car, such as the hood, roof, and trunk. These areas are the first thing people will see when they look at your car, so it’s essential to get them right. By wrapping these areas first, you can ensure a seamless finish that will make your car stand out.
Starting with the most visible areas also helps to create a sense of balance and harmony on your car. When the hood, roof, and trunk are wrapped, the rest of the car will follow naturally. This will also help to create a sense of continuity and flow, making your car look more sleek and streamlined. Plus, by wrapping these areas first, you can avoid any mistakes or wrinkles that might occur if you started with the less visible areas.
By following this step, you’ll be able to create a stunning vinyl wrap that will turn heads on the road. Remember, it’s all about the details, and starting with the most visible areas will set you up for success. So, take your time, be patient, and get started on your vinyl wrap journey today!
Work from the Center Outwards
When applying a vinyl wrap, it’s essential to work in a logical and methodical way to ensure a smooth, bubble-free finish. One of the most important techniques to master is working from the center of the panel outwards. This approach helps to prevent air bubbles and wrinkles from forming, and ensures a seamless finish.
By starting at the center of the panel, you can apply the wrap in sections, gradually working your way outwards. This helps to maintain even tension and prevent the wrap from sagging or sagging. As you apply the wrap, use a squeegee to remove any air bubbles that may form, and use a heat gun to soften the material and make it more pliable.
By working from the center outwards, you’ll be able to achieve a professional-looking finish that will make your car stand out. Remember to take your time, be patient, and work methodically, and you’ll be rewarded with a stunning vinyl wrap that will turn heads on the road. So, get started today and see the difference for yourself!
4. Post-Application Care and Maintenance
Congratulations! You’ve successfully installed your vinyl wrap and it looks amazing. But to keep it looking fresh and new, you’ll need to follow some simple post-application care and maintenance tips. By following these tips, you can extend the life of your vinyl wrap and keep it looking its best.
First, avoid washing your car for at least 24 hours after application. This will allow the wrap to fully bond with the paint. After that, use a mild soap and avoid using high-pressure washes or harsh chemicals. You should also avoid parking your car in direct sunlight for extended periods, as this can cause the wrap to fade. Finally, regularly inspect your wrap for any signs of damage or peeling, and address any issues promptly.
By following these simple tips, you can keep your vinyl wrap looking like new for years to come. Remember, a little care and attention can go a long way in maintaining the appearance of your wrap. So, take the time to follow these tips and enjoy your stunning vinyl wrap for years to come!
Avoid Washing Your Car for 24 Hours
After installing your vinyl wrap, it’s essential to give it time to fully bond with your car’s paint. This is a critical step in ensuring the longevity and appearance of your wrap. To do this, avoid washing your car for at least 24 hours after application. This will allow the wrap to fully cure and adhere to the paint, creating a strong and durable bond.
During this time, it’s also important to avoid exposing your car to extreme temperatures, direct sunlight, or moisture. This will help to prevent the wrap from lifting or peeling, and ensure that it stays looking its best. By waiting 24 hours before washing your car, you can be confident that your vinyl wrap will look great for years to come.
By following this simple tip, you can ensure that your vinyl wrap looks amazing and lasts for a long time. Remember, a little patience can go a long way in maintaining the appearance of your wrap. So, take the time to wait, and enjoy the stunning results of your vinyl wrap installation!
Use Mild Soap and Avoid High-Pressure Washes
When it comes to washing your car with a vinyl wrap, it’s essential to use gentle cleaning products and methods to avoid damaging the wrap. Harsh chemicals and high-pressure washes can cause the wrap to lift, peel, or crack, reducing its lifespan. Instead, use a mild soap that is specifically designed for washing cars with vinyl wraps. These soaps are gentler on the wrap and will help to keep it looking its best.
When washing your car, use a soft, microfiber cloth to avoid scratching the wrap. Avoid using high-pressure washes, as they can dislodge the wrap and cause damage. Instead, use a gentle stream of water to rinse the car, and avoid using hot water, which can cause the wrap to stretch or distort. By following these tips, you can help to extend the lifespan of your vinyl wrap and keep it looking great for years to come.
By using gentle cleaning products and methods, you can enjoy the many benefits of a vinyl wrap without worrying about damaging it. Remember, a little care and attention can go a long way in maintaining the appearance of your wrap. So, take the time to choose the right cleaning products and follow these simple tips, and enjoy the stunning results of your vinyl wrap installation!
Regularly Inspect and Maintain the Wrap
To ensure your vinyl wrap looks amazing for years to come, it’s essential to regularly inspect and maintain it. By checking your wrap regularly, you can catch any damage or peeling early on and address the issues promptly. This will help to prevent the damage from spreading and reduce the risk of costly repairs.
When inspecting your wrap, look for any signs of damage, such as cracks, scratches, or peeling. Also, check for any areas where the wrap may be lifting or bubbling. If you notice any issues, address them promptly by cleaning or repairing the affected area. Regular inspections will also give you an opportunity to clean the wrap and remove any dirt or debris that may be accumulating.
By regularly inspecting and maintaining your vinyl wrap, you can enjoy the many benefits of a professional-looking wrap without worrying about it deteriorating over time. Remember, a little care and attention can go a long way in maintaining the appearance of your wrap. So, take the time to inspect your wrap regularly and address any issues promptly, and enjoy the stunning results of your vinyl wrap installation!
How long does a vinyl wrap typically last?
A vinyl wrap can last anywhere from 5 to 10 years, depending on the quality of the wrap, the environment it’s exposed to, and how well it’s maintained.
Can I install a vinyl wrap myself?
While it’s possible to install a vinyl wrap yourself, it’s recommended to hire a professional installer to ensure a high-quality, bubble-free finish.
How do I remove a vinyl wrap?
To remove a vinyl wrap, use a heat gun or a hair dryer to loosen the adhesive, then slowly peel the wrap off. You may need to use a solvent or a vinyl wrap remover to dissolve the adhesive.
Can I use a vinyl wrap on a car with a damaged paint job?
It’s not recommended to use a vinyl wrap on a car with a damaged paint job, as the wrap can lift or peel off easily. Repair any paint damage before installing a vinyl wrap.
How do I clean a vinyl wrap?
Use a mild soap and a soft, microfiber cloth to clean a vinyl wrap. Avoid using harsh chemicals or high-pressure washes, which can damage the wrap.

