Say Goodbye to Residue: A Step-by-Step Guide to Removing Vinyl Car Wrap Like a Pro
Removing a vinyl car wrap can be a daunting task, but with the right approach, it doesn’t have to be a nightmare. Whether you’re looking to upgrade your wrap or return your vehicle to its original state, this guide will walk you through the process of removing vinyl car wrap without residue. From understanding the adhesive properties of vinyl wraps to choosing the right tools and materials, we’ll cover everything you need to know to get the job done successfully.
In this article, we’ll delve into the common mistakes to avoid during removal, the importance of preparation, and the step-by-step process of removing vinyl car wrap. We’ll also explore the role of heat guns, solvents, and adhesive removers in the removal process, as well as how to clean and protect your vehicle’s paint after removal.
By following our expert advice, you’ll be able to remove your vinyl car wrap with confidence and achieve a residue-free finish. So, let’s get started and discover the secrets to successful vinyl car wrap removal!
1. Understanding Vinyl Car Wraps: Why Removal Can Be Tricky
Vinyl car wraps have become a popular way to give vehicles a personalized look, but when it comes to removing them, things can get a bit tricky. One of the main reasons why vinyl car wraps can be challenging to remove is because of their adhesive properties. Vinyl wraps are designed to stick to the vehicle’s surface for a long period, and this strong adhesive can make it difficult to remove the wrap without leaving residue behind.
Another factor that contributes to the complexity of vinyl car wrap removal is the type of material used. Most vinyl wraps are made from a thin, flexible plastic film that is designed to conform to the curves and contours of a vehicle. While this material is great for wrapping, it can be prone to stretching and tearing during the removal process, which can lead to residue and leftover adhesive.
Despite these challenges, it’s not impossible to remove a vinyl car wrap without residue. With the right tools, techniques, and knowledge, you can successfully remove your vinyl car wrap and leave your vehicle’s paint looking like new. In this article, we’ll explore the common mistakes to avoid during removal, the right tools and materials to use, and the step-by-step process for removing vinyl car wrap without residue.
Adhesive Properties: The Culprit Behind Residue
The adhesive properties of vinyl car wraps are designed to provide a strong bond between the wrap and the vehicle’s surface. This strong bond is essential for a successful wrap installation, but it can also be the culprit behind residue left behind after removal. The adhesive properties of vinyl wraps can be broken down into two main components: the initial tack and the long-term bond. The initial tack is the initial stickiness of the adhesive, which allows the wrap to adhere to the vehicle’s surface. The long-term bond is the strength of the adhesive over time, which keeps the wrap in place.
The problem arises when it’s time to remove the wrap. The strong adhesive properties can make it difficult to remove the wrap without leaving residue behind. However, there are ways to overcome this. One of the most effective methods is to use a heat gun to loosen the adhesive, making it easier to remove the wrap. Additionally, using the right solvents and adhesive removers can help to break down the adhesive properties, making residue removal a breeze.
By understanding the adhesive properties of vinyl car wraps, you can take the necessary steps to overcome the challenges of residue removal. With the right techniques and tools, you can successfully remove your vinyl car wrap and leave your vehicle’s paint looking like new. In this article, we’ll explore the best practices for removing vinyl car wraps and provide tips and tricks for overcoming the adhesive properties that can leave behind residue.
Common Mistakes to Avoid During Removal
When it comes to removing vinyl car wraps, it’s easy to make mistakes that can lead to residue and a less-than-desirable finish. One of the most common mistakes is rushing the removal process. This can cause the wrap to tear or stretch, leaving behind adhesive residue. Another mistake is using the wrong tools or materials, such as using a scraper or abrasive materials that can scratch the vehicle’s paint.
Another common mistake is not properly preparing the vehicle’s surface before removal. This can include not cleaning the surface thoroughly, not removing any wax or sealant, or not applying the right solvents or adhesive removers. By avoiding these mistakes, you can ensure a smooth and successful removal process. Additionally, taking the time to properly prepare and remove the wrap can save you time and frustration in the long run.
By being aware of these common mistakes, you can take steps to avoid them and achieve a residue-free finish. In this article, we’ll provide you with the tips and tricks you need to successfully remove your vinyl car wrap. From preparation to removal, we’ll guide you through the process and help you achieve the best results. With the right knowledge and techniques, you can remove your vinyl car wrap with confidence and achieve a professional-looking finish.
2. Preparation is Key: Gathering the Right Tools and Materials
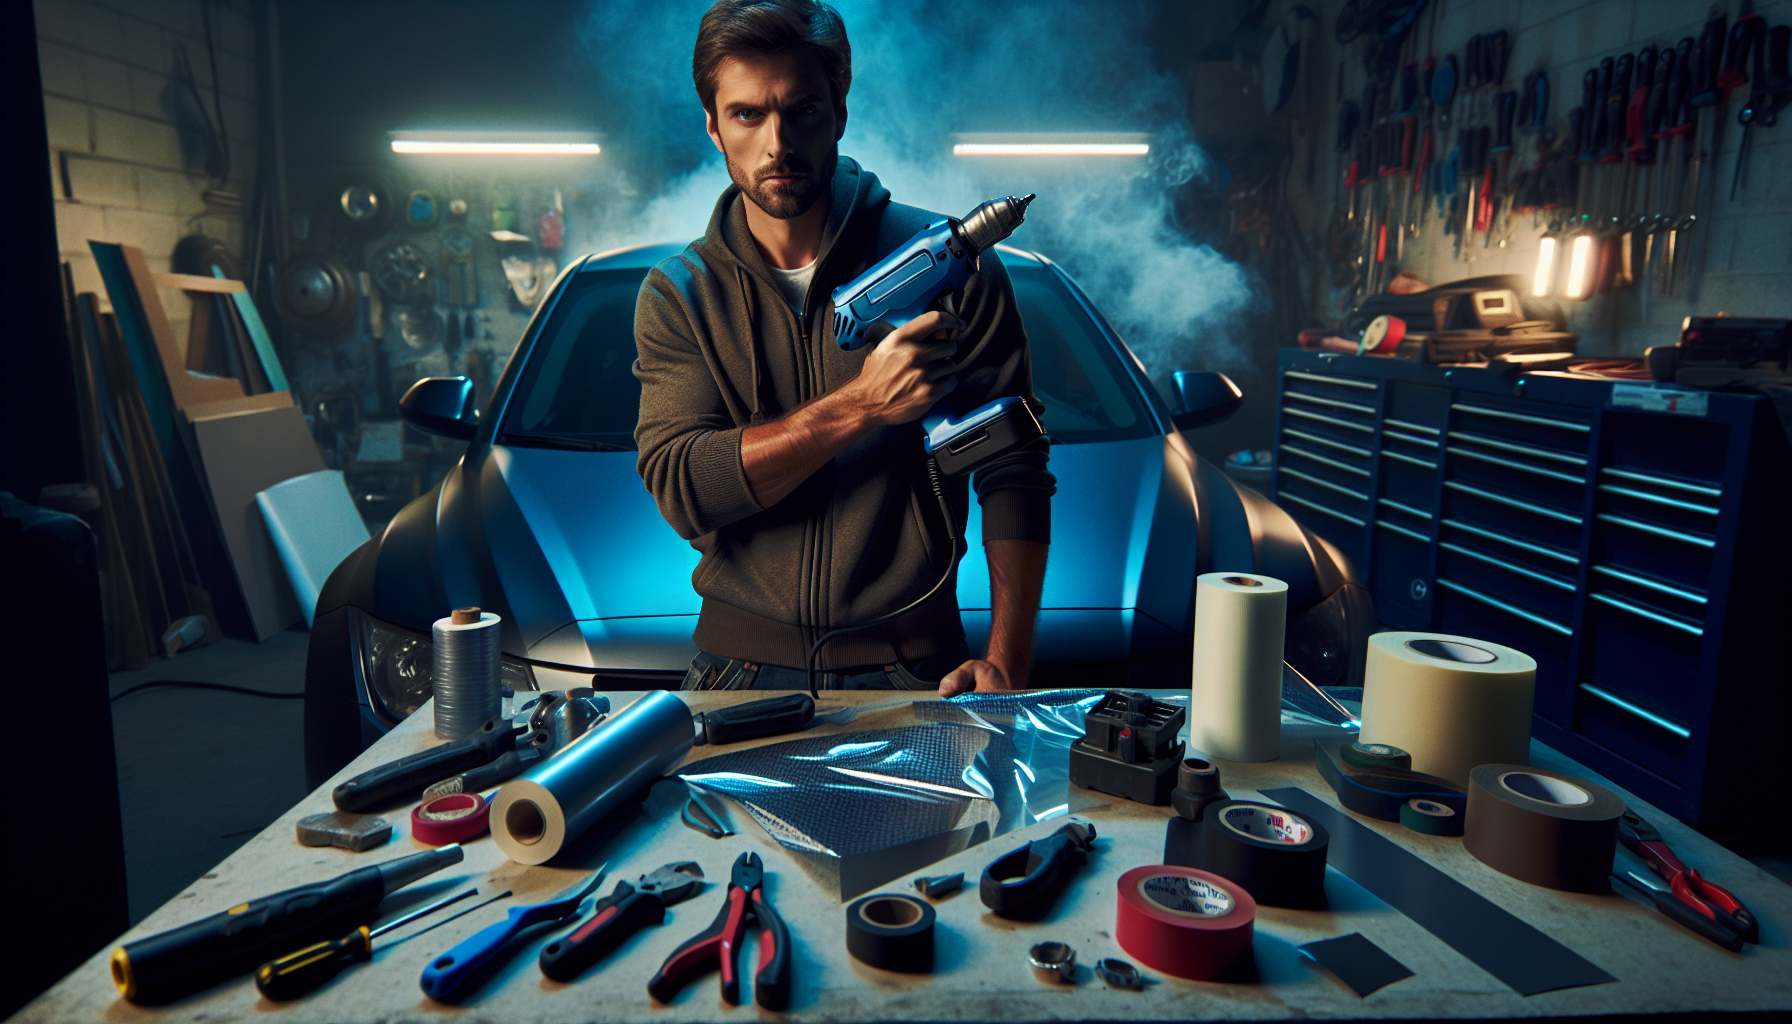
When it comes to removing vinyl car wraps, having the right tools and materials can make all the difference in a successful removal process. One of the most essential tools is a heat gun, which is used to loosen the adhesive and make removal easier. Other necessary tools include a scraper or removal spatula, solvent or adhesive removers, and a microfiber cloth.
In addition to the right tools, having the right materials is also crucial. This includes solvents or adhesive removers, which are specifically designed to break down the adhesive properties of the vinyl wrap. It’s also important to have a cleaning solution and a microfiber cloth on hand to clean the surface of the vehicle after removal.
By gathering the right tools and materials, you can ensure a smooth and successful removal process. With the right equipment, you can avoid common mistakes and achieve a residue-free finish. In this article, we’ll provide you with a comprehensive guide to the tools and materials you need to successfully remove your vinyl car wrap. From heat guns to solvents, we’ll cover everything you need to know to get the job done right.
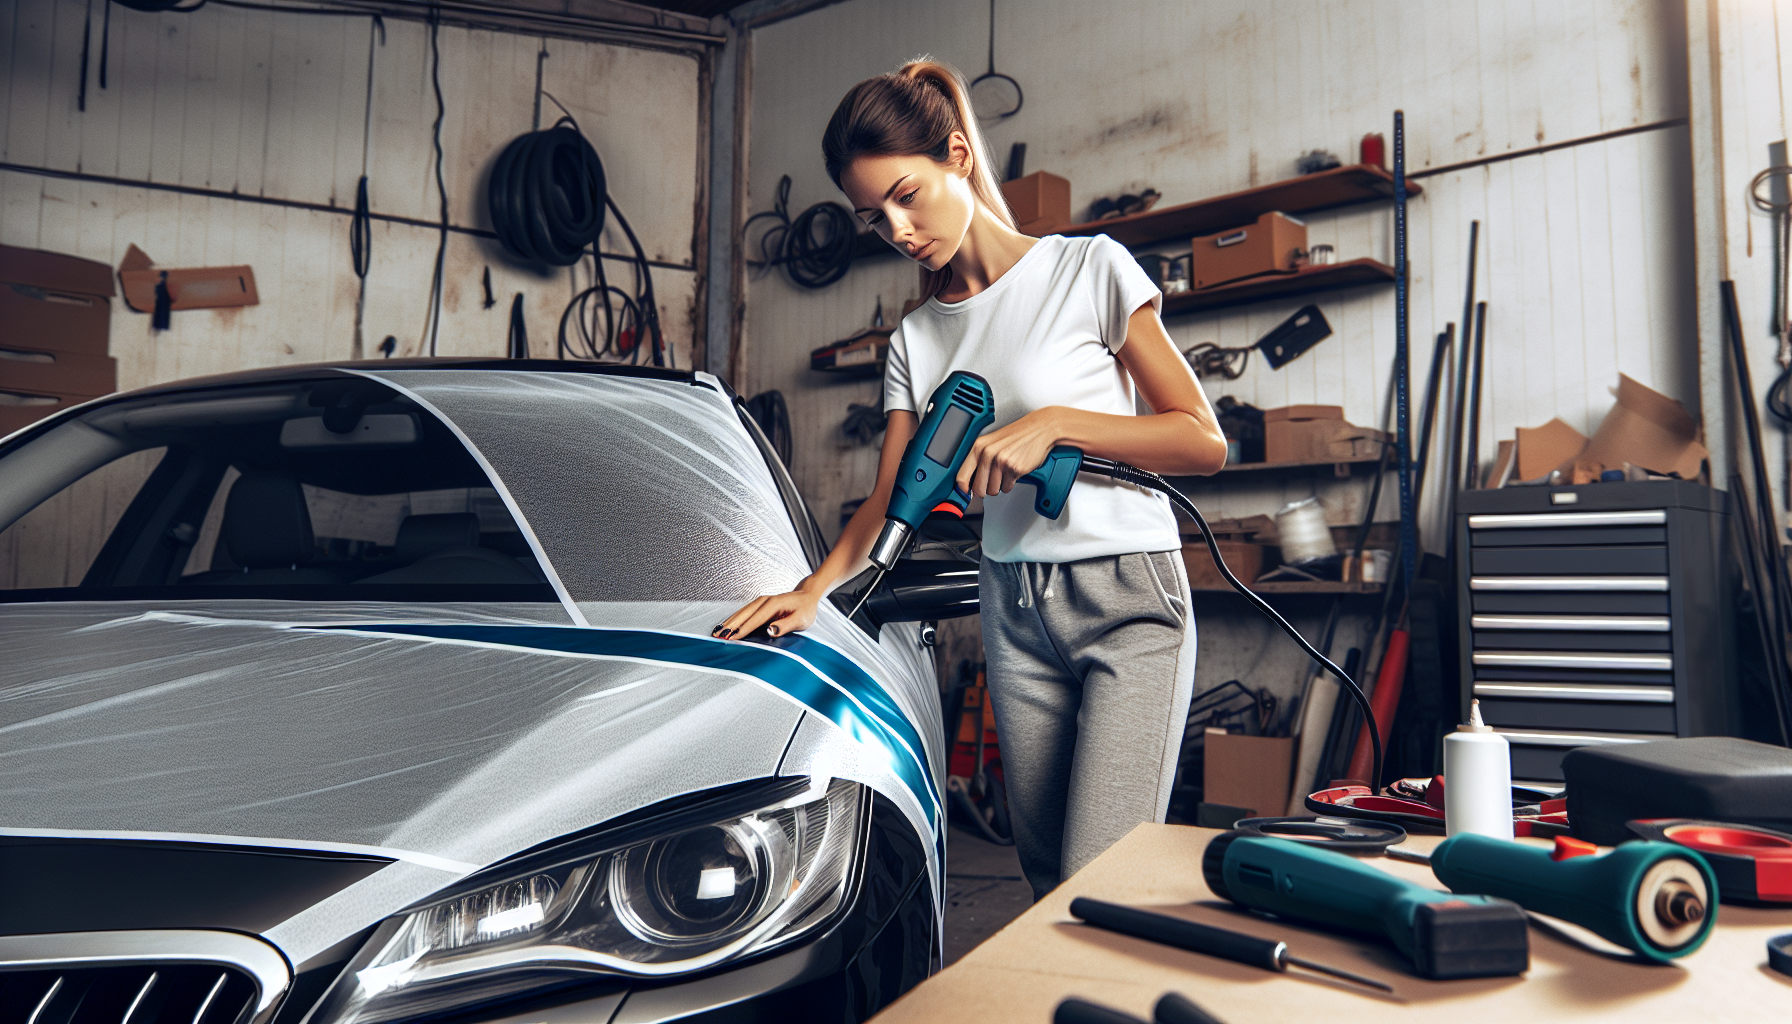
Heat Guns: The Secret to Easy Removal
When it comes to removing vinyl car wraps, one of the most effective tools to have in your arsenal is a heat gun. According to 3M, a leading manufacturer of vinyl wraps, heat guns can help loosen the adhesive and make removal a breeze. By applying heat to the wrap, the adhesive is softened, making it easier to remove the wrap without leaving behind residue.
Heat guns work by applying a controlled amount of heat to the wrap, breaking down the adhesive properties and allowing the wrap to be removed more easily. This is especially useful for removing wraps that have been on the vehicle for an extended period, as the adhesive can become stronger over time. By using a heat gun, you can avoid the need for harsh chemicals or abrasive materials, making it a safer and more effective way to remove your vinyl car wrap.
With a heat gun, you can make the removal process faster and easier, saving you time and frustration. Additionally, using a heat gun can help prevent damage to the vehicle’s paint, making it a great option for those who want to remove their vinyl car wrap without compromising the integrity of their vehicle. In this article, we’ll explore the benefits of using a heat gun for vinyl car wrap removal and provide tips and tricks for getting the best results.
Solvents and Adhesive Removers: A Closer Look
When it comes to removing vinyl car wraps, solvents and adhesive removers play a crucial role in breaking down the adhesive properties and making removal a breeze. These products are specifically designed to dissolve the adhesive, allowing the wrap to be removed easily and residue-free. With so many options available on the market, it can be overwhelming to choose the right one for your needs.
The key to choosing the right solvent or adhesive remover is to understand the type of adhesive used on your vinyl car wrap. Different adhesives require different types of solvents or removers, and using the wrong one can lead to damage or residue. Additionally, it’s essential to consider the type of vehicle surface you’re working with, as some solvents or removers may be too harsh for certain materials. By taking the time to research and choose the right product, you can ensure a successful and residue-free removal process.
With the right solvent or adhesive remover, you can remove your vinyl car wrap with confidence and achieve a professional-looking finish. In this article, we’ll explore the different types of solvents and adhesive removers available, and provide tips and tricks for choosing the right one for your needs. We’ll also cover the benefits of using these products, and how to use them safely and effectively to achieve the best results.
3. The Removal Process: A Step-by-Step Guide
Removing a vinyl car wrap can seem like a daunting task, but with the right guidance, it can be a breeze. In this step-by-step guide, we’ll walk you through the process of removing vinyl car wrap without residue. From preparation to removal, we’ll cover every step of the way.
First, prepare the vehicle by cleaning the surface and removing any wax or sealant. Next, apply heat to the wrap using a heat gun to loosen the adhesive. Then, use a scraper or removal spatula to gently pry the wrap away from the vehicle. Be careful not to scrape too hard, as this can cause damage to the paint. Once the wrap is removed, use a solvent or adhesive remover to remove any remaining residue. Finally, clean the surface with a microfiber cloth and apply a new coat of wax or sealant to protect the paint.
By following these steps, you can remove your vinyl car wrap with confidence and achieve a professional-looking finish. Remember to take your time and work carefully, as rushing the process can lead to mistakes and residue. With the right tools and techniques, you can remove your vinyl car wrap and get back to a sleek, residue-free finish.
Applying Heat: The First Step to Removal
The first step in removing a vinyl car wrap is to apply heat to loosen the adhesive. This crucial step allows the wrap to be removed more easily and helps to prevent residue from being left behind. To apply heat, you’ll need a heat gun, which is a specialized tool designed to emit a controlled amount of heat.
When applying heat, it’s essential to do so evenly and carefully. Hold the heat gun about 6-8 inches away from the wrap and move it slowly back and forth, allowing the heat to penetrate the adhesive. Be careful not to overheat the wrap, as this can cause damage to the paint or the wrap itself. A good rule of thumb is to apply heat for about 30 seconds to 1 minute, depending on the temperature and the type of wrap you’re working with.
By applying heat correctly, you can loosen the adhesive and make the removal process much easier. Remember to work patiently and take your time, as rushing the process can lead to mistakes and residue. In this article, we’ll provide you with more tips and tricks for applying heat and removing vinyl car wraps, so you can achieve a professional-looking finish every time.
Peeling Back the Wrap: Techniques and Tips
Once the adhesive has been loosened, it’s time to peel back the wrap. This can be a delicate process, but with the right techniques and tips, you can remove the wrap without leaving behind residue. One key technique is to start peeling the wrap from a corner, using a gentle and consistent motion. This helps to prevent the wrap from tearing and reduces the risk of residue.
Another important tip is to use a removal spatula or scraper to help guide the wrap as you peel it back. This can help to prevent the wrap from sticking to the vehicle’s surface and makes it easier to remove. Additionally, be sure to peel the wrap back slowly and carefully, taking your time to avoid any mistakes. It’s also a good idea to use a microfiber cloth to wipe away any remaining adhesive or residue as you go.
By following these techniques and tips, you can successfully peel back the wrap and remove it without leaving behind residue. Remember to stay patient and take your time, as rushing the process can lead to mistakes and residue. With the right techniques and tools, you can achieve a professional-looking finish and get back to a residue-free vehicle.
4. After Removal: Cleaning and Protecting Your Vehicle’s Paint
After successfully removing the vinyl car wrap, it’s essential to take the final steps to ensure your vehicle’s paint is clean and protected. The first step is to thoroughly clean the surface using a mild soap and water. This will help remove any remaining adhesive or residue that may have been left behind. Be sure to use a soft cloth and avoid using any harsh chemicals or abrasive materials that can damage the paint.
Next, apply a layer of wax or sealant to protect the paint and give it a glossy finish. This will help to lock in the paint’s natural shine and protect it from the elements. You can also use a detailing spray to add an extra layer of protection and make future cleaning easier. By taking these final steps, you can ensure your vehicle’s paint looks like new and is protected for years to come.
Remember, a clean and protected paint job is essential to maintaining your vehicle’s appearance and value. By following these steps, you can achieve a showroom shine and keep your vehicle looking its best. Whether you’re a car enthusiast or just want to keep your vehicle looking its best, these final steps are crucial to ensuring a successful vinyl car wrap removal.
Using the Right Cleaning Products
When it comes to removing any remaining residue and protecting your vehicle’s paint, using the right cleaning products is essential. The first step is to choose a mild soap or car wash solution that is specifically designed for cleaning vehicles. Avoid using harsh chemicals or abrasive materials that can damage the paint or strip away its natural wax.
Next, consider using a detailing spray or quick detailer to help remove any remaining residue or stains. These products are designed to be gentle on the paint while still providing effective cleaning power. Look for products that are specifically designed to remove adhesive residue or vinyl wrap residue. Additionally, consider using a microfiber cloth or soft sponge to clean the surface, as these will be gentle on the paint and help to avoid scratches.
By choosing the right cleaning products, you can effectively remove any remaining residue and protect your vehicle’s paint. Remember to always read the labels and follow the instructions carefully to ensure the best results. With the right cleaning products and a little bit of elbow grease, you can achieve a showroom shine and keep your vehicle looking its best.
Waxing and Sealing: The Final Touch
The final touch in maintaining your vehicle’s showroom shine is waxing and sealing. This crucial step provides a protective barrier against the elements, UV rays, and everyday wear and tear. Waxing and sealing helps to lock in the paint’s natural shine and protect it from fading, cracking, and damage. According to Autogeek, a leading authority in the automotive industry, regular waxing and sealing can extend the life of your vehicle’s paint and keep it looking like new.
Waxing and sealing also provides a hydrophobic coating, which repels water and makes cleaning easier. This means that dirt and debris will have a harder time sticking to the paint, making it easier to maintain a clean and shiny finish. Additionally, waxing and sealing can help to fill in minor scratches and imperfections, leaving your vehicle’s paint looking smooth and flawless.
By incorporating waxing and sealing into your regular maintenance routine, you can ensure that your vehicle’s paint remains protected and looks its best. Whether you’re a car enthusiast or just want to keep your vehicle looking its best, waxing and sealing is a crucial step in maintaining a showroom shine. So, take the time to wax and seal your vehicle’s paint today and enjoy the benefits of a protected and beautiful finish.
What is the best type of vinyl car wrap to use for easy removal?
The best type of vinyl car wrap to use for easy removal is a high-quality, cast vinyl wrap with a pressure-sensitive adhesive. These wraps are designed to be easily removable and are less likely to leave residue behind.
Can I use a hair dryer to loosen the adhesive instead of a heat gun?
While a hair dryer can be used to loosen the adhesive, it’s not recommended as it can be less effective and may not provide even heat distribution. A heat gun is a better option as it provides a more controlled and concentrated heat source.
How often should I wax and seal my vehicle’s paint after removing the vinyl car wrap?
It’s recommended to wax and seal your vehicle’s paint every 2-3 months to maintain a showroom shine and protect the paint from the elements. However, this may vary depending on the climate and frequency of use.
What if I notice residue or adhesive still on the paint after removal?
If you notice residue or adhesive still on the paint after removal, use a gentle adhesive remover and a microfiber cloth to gently wipe away the remaining residue. Avoid using harsh chemicals or abrasive materials that can damage the paint.

