Transform Your Ride with a Pro-Looking Vinyl Car Wrap: A Step-by-Step Guide

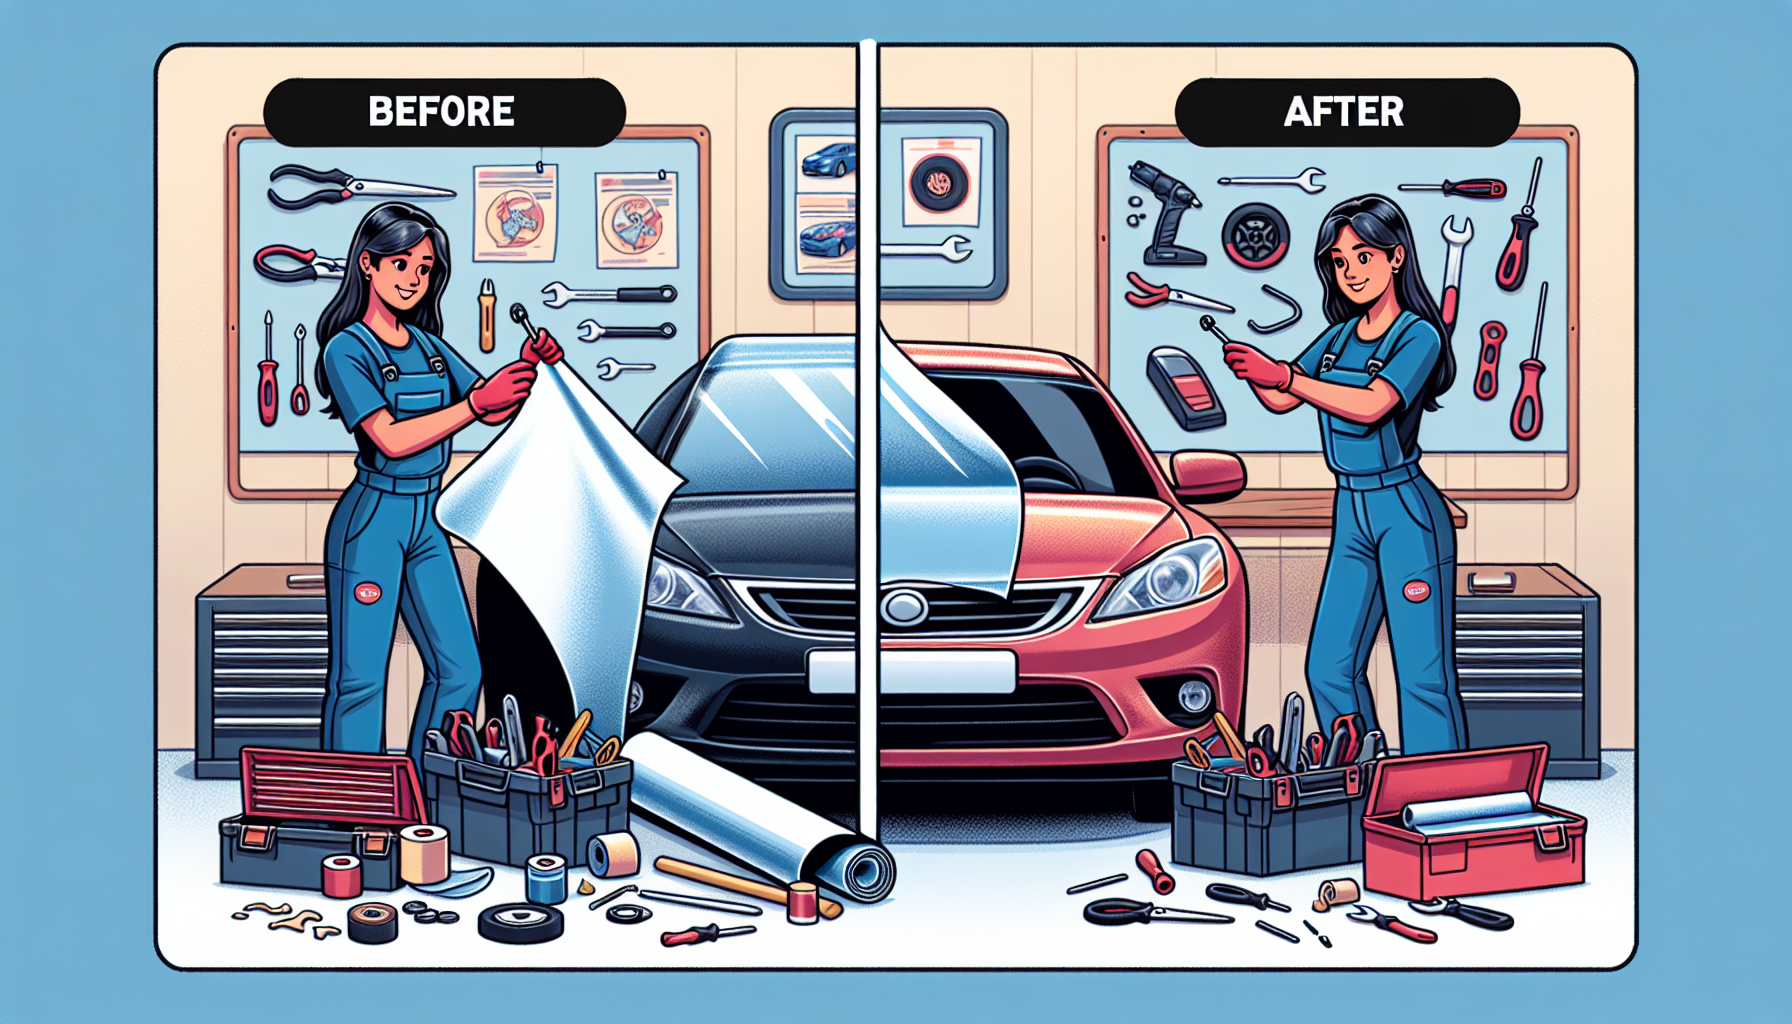
Are you ready to give your vehicle a fresh new look? A vinyl car wrap can be a fantastic way to personalize your ride, and with the right guide, it’s easier than you think! In this comprehensive guide, we’ll walk you through the entire process of installing a vinyl car wrap on your vehicle. From preparation to aftercare, we’ll cover everything you need to know to achieve a stunning, professional-looking finish. Whether you’re a car enthusiast, a business owner looking to advertise your brand, or simply someone who wants to add some personality to your vehicle, this guide is perfect for you.
With the right tools and a little patience, you can transform your vehicle into a head-turning masterpiece. Vinyl car wraps offer an incredible level of customization, allowing you to choose from a wide range of colors, designs, and finishes to perfectly match your style. Plus, they’re a great way to protect your vehicle’s paint job from the elements and minor scratches.
So, what are you waiting for? Let’s dive into the world of vinyl car wraps and get started on your vehicle’s transformation! With this guide, you’ll be on your way to a stunning new look in no time.
1. Preparing Your Vehicle for Vinyl Car Wrap Installation
Before you start applying your vinyl car wrap, it’s essential to ensure your vehicle is properly prepared. A clean and smooth surface is crucial for a successful installation, and a little preparation can go a long way in achieving a professional-looking finish. Start by giving your vehicle a thorough cleaning, paying attention to any areas with heavy dirt, dust, or grime buildup. A soft-bristle brush and mild soap can help remove any debris that may be lodged in crevices or moldings.
Next, inspect your vehicle for any imperfections, such as scratches, dents, or rust spots. While minor scratches can be easily fixed, more severe imperfections may require a trip to a body shop. Remember, a smooth surface is key to a successful vinyl car wrap installation. If you’re not comfortable fixing imperfections yourself, consider consulting a professional.
By taking the time to properly prepare your vehicle, you’ll ensure a smooth, bubble-free installation that will make your vinyl car wrap look amazing. A little patience and elbow grease can make all the difference in achieving a stunning finish that will turn heads on the road. So, take a deep breath, grab some soap and water, and get ready to transform your ride!
Cleaning and Degreasing the Surface
A thorough cleaning and degreasing of the surface is a crucial step in the vinyl car wrap installation process. Any dirt, dust, or grime left on the surface can cause the vinyl to lift or bubble, leading to a poor-looking finish. According to 3M, a leading manufacturer of vinyl car wraps, a clean surface is essential for a successful installation. This is because the vinyl wrap adheres to the surface using a combination of adhesive and surface tension, so any contaminants can disrupt this process.
Use a mild soap and water to clean the surface, paying attention to any areas with heavy dirt or grime buildup. A soft-bristle brush can be used to gently scrub away any stubborn dirt or debris. Once the surface is clean, use a degreaser to remove any remaining oils or waxes. This is especially important for areas with heavy road grime or bug splatters.
By taking the time to thoroughly clean and degrease the surface, you’ll ensure a strong bond between the vinyl wrap and the surface, resulting in a professional-looking finish that will last. Remember, a clean surface is the foundation of a successful vinyl car wrap installation, so don’t skip this crucial step!
Fixing Imperfections and Scratches
Before applying a vinyl car wrap, it’s essential to fix any minor scratches or imperfections on the surface of your vehicle. According to Autotrader, even small imperfections can cause the vinyl wrap to lift or bubble, resulting in a poor-looking finish. But don’t worry, fixing minor scratches and imperfections is a relatively simple process that can be done with a few basic tools.
For small scratches, use a scratch remover or a polishing compound to gently buff out the imperfection. For deeper scratches, you may need to use a filler or a touch-up paint to cover the area. Remember to always follow the manufacturer’s instructions for any repair products you use. And if you’re not comfortable fixing the imperfection yourself, consider consulting a professional.
By taking the time to fix any minor scratches or imperfections, you’ll ensure a smooth, bubble-free vinyl car wrap installation that will make your vehicle look amazing. And with a little patience and practice, you’ll be able to fix even the most stubborn imperfections like a pro. So, don’t let imperfections hold you back from achieving a stunning vinyl car wrap finish!
2. Choosing the Right Vinyl Car Wrap for Your Vehicle

With so many vinyl car wrap options available, choosing the right one for your vehicle can be overwhelming. But by considering a few key factors, you can select the perfect wrap that will make your vehicle stand out from the crowd. First, think about the material you want to use. Calendared vinyl wraps are a popular choice for their affordability and ease of installation, while cast vinyl wraps offer a more premium finish. Specialty films, such as chrome or metallic, can add an extra layer of customization to your wrap.
Next, consider the finish you want to achieve. Glossy, matte, and satin finishes are all popular options, and can greatly impact the overall look of your vehicle. Think about the style you’re going for – do you want a bold, eye-catching finish, or a more subtle, understated look? Finally, think about the design of your wrap. Will you choose a solid color, a pattern, or a custom design that showcases your personality or brand?
By considering these factors, you’ll be able to select a vinyl car wrap that perfectly complements your vehicle and meets your unique needs. With so many options available, you’re sure to find a wrap that turns heads and makes your vehicle stand out. So, take your time, do your research, and get ready to transform your ride with a stunning vinyl car wrap!
Types of Vinyl Car Wrap Materials
When it comes to selecting a vinyl car wrap material, you’ve got options! According to WrapItUp, a leading vinyl car wrap supplier, there are several types of materials to choose from, each with its own unique benefits and characteristics. Calendared vinyl wraps are a popular choice for their affordability and ease of installation. They’re perfect for short-term wraps or for those on a budget. Cast vinyl wraps, on the other hand, offer a more premium finish and are ideal for long-term wraps or for those who want a more durable material.
Specialty films are another option to consider. These films offer unique finishes, such as chrome, metallic, or carbon fiber, and can add an extra layer of customization to your wrap. They’re perfect for those who want to make a statement with their vehicle. With so many material options available, it’s easy to find the perfect fit for your vehicle and your needs.
By understanding the different types of vinyl car wrap materials, you’ll be able to make an informed decision and choose the perfect material for your vehicle. Whether you’re looking for a budget-friendly option or a premium finish, there’s a vinyl car wrap material out there that’s right for you. So, take your time, do your research, and get ready to transform your ride with a stunning vinyl car wrap!
Finish and Texture Options
When it comes to choosing the perfect vinyl car wrap, the finish and texture options can make all the difference. From glossy to matte, and everything in between, there’s a finish and texture option that’s sure to suit your style. Glossy finishes are perfect for those who want a bold, eye-catching look that turns heads. Matte finishes, on the other hand, offer a more subtle, understated look that’s perfect for those who want a sleek, modern appearance.
But that’s not all – there are many other finish and texture options to consider, including satin, chrome, and metallic. Satin finishes offer a soft, subtle sheen that’s perfect for those who want a finish that’s not too bold, but not too understated either. Chrome and metallic finishes, on the other hand, offer a bold, reflective look that’s perfect for those who want to make a statement with their vehicle.
With so many finish and texture options available, you’re sure to find the perfect one to match your unique style. Whether you’re looking for a bold, attention-grabbing finish or a subtle, understated look, there’s a vinyl car wrap finish and texture option that’s right for you. So, take your time, explore your options, and get ready to transform your ride with a stunning vinyl car wrap!
3. Step-by-Step Vinyl Car Wrap Installation Process
Are you ready to transform your vehicle with a stunning vinyl car wrap? With our step-by-step guide, you’ll be able to successfully install a vinyl car wrap on your vehicle, from measuring to finishing touches. The first step is to measure your vehicle, taking careful note of the dimensions and contours of the surface. This will ensure that your vinyl car wrap is perfectly tailored to your vehicle.
Next, it’s time to apply the vinyl car wrap. Start by applying the wrap to the largest, flattest surfaces first, such as the hood and trunk. Use a squeegee to remove any air bubbles or wrinkles, and apply heat to the wrap to ensure it adheres smoothly to the surface. As you apply the wrap, be sure to align it carefully with the vehicle’s features, such as trim and emblems.
Finally, add the finishing touches to your vinyl car wrap. Use a trim tool to remove any excess wrap, and apply a laminate to protect the wrap from the elements. With a little patience and practice, you’ll be able to achieve a professional-looking finish that will turn heads on the road. So, what are you waiting for? Follow our step-by-step guide and get ready to transform your ride with a stunning vinyl car wrap!
Measuring and Cutting the Vinyl
Measuring and cutting the vinyl car wrap is a crucial step in the installation process. According to VinylWrapGuide, a leading authority on vinyl car wraps, accurate measurements are key to a successful installation. To start, take precise measurements of your vehicle’s surface, including the length, width, and contours of each panel. Be sure to take note of any obstacles, such as trim and emblems, that may affect the wrap.
Next, use your measurements to cut the vinyl car wrap into manageable pieces. A cutting mat and razor blade or Plotter are essential tools for this step. Cut the vinyl into sections that can be easily applied to the vehicle, taking care to avoid any wrinkles or creases. With a little patience and attention to detail, you’ll be able to achieve a precise fit that will make your vehicle look amazing.
By following these simple steps, you’ll be able to measure and cut the vinyl car wrap with confidence. Remember to take your time, and don’t be afraid to ask for help if you need it. With a little practice, you’ll be a pro at measuring and cutting vinyl car wraps in no time! And with VinylWrapGuide’s expert guidance, you’ll be well on your way to a stunning vinyl car wrap installation that will turn heads on the road.
Applying the Vinyl Wrap
Applying the vinyl wrap is a crucial step in the installation process. With these step-by-step instructions, you’ll be able to achieve a professional-looking finish that will make your vehicle stand out. Start by applying the wrap to the largest, flattest surfaces first, such as the hood and trunk. Use a squeegee to remove any air bubbles or wrinkles, and apply heat to the wrap to ensure it adheres smoothly to the surface.
Next, move on to the more complex areas, such as the doors and windows. Use a trimming tool to remove any excess wrap, and apply a laminate to protect the wrap from the elements. Be sure to align the wrap carefully with the vehicle’s features, such as trim and emblems, and use a heat gun to conform the wrap to the surface.
With a little patience and practice, you’ll be able to apply the vinyl wrap like a pro! Just remember to take your time, and don’t be afraid to ask for help if you need it. And don’t worry if you make a mistake – with these tips and tricks, you’ll be able to overcome any obstacles and achieve a stunning vinyl car wrap installation that will turn heads on the road.
4. Aftercare and Maintenance for Your Vinyl Car Wrap
Congratulations! You’ve successfully installed a vinyl car wrap on your vehicle. Now, it’s time to think about aftercare and maintenance to ensure your wrap lasts longer. With proper care, your vinyl car wrap can last for years to come. Start by washing your vehicle regularly using a mild soap and water. Avoid using harsh chemicals or abrasive cleaners, as they can damage the wrap.
When it comes to storage, make sure to keep your vehicle in a cool, dry place away from direct sunlight. This will help prevent fading and damage to the wrap. You can also use a UV-resistant cover to protect your vehicle when it’s not in use. By following these simple tips, you’ll be able to extend the lifespan of your vinyl car wrap and keep your vehicle looking its best.
Remember, a little care and attention can go a long way in maintaining your vinyl car wrap. By following our aftercare and maintenance tips, you’ll be able to enjoy your wrap for years to come. So, take the time to care for your vehicle, and it will reward you with a stunning appearance that will turn heads on the road!
Cleaning and Maintaining Your Vinyl Wrap
Proper cleaning and maintenance are crucial to keeping your vinyl car wrap looking its best. According to detailing.com, using the right products and techniques can make all the difference. Start by washing your vehicle regularly using a mild soap and water. Avoid using harsh chemicals or abrasive cleaners, as they can damage the wrap. For tougher stains, use a gentle cleaning product specifically designed for vinyl wraps.
When it comes to drying your vehicle, use a microfiber towel to prevent scratches and water spots. You can also use a vinyl wrap-specific detailing spray to add an extra layer of protection and shine. For more stubborn stains, try using a gentle scrubber or a soft-bristle brush to gently remove the stain. Remember to always read the instructions on any cleaning products and test them on a small, inconspicuous area first.
By following these best practices, you’ll be able to keep your vinyl car wrap looking like new. And with detailing.com’s expert guidance, you can trust that you’re using the right techniques and products to care for your wrap. So, take the time to clean and maintain your vinyl car wrap, and it will reward you with a stunning appearance that will turn heads on the road!
Storage and Protection Tips
When you’re not using your vehicle, it’s essential to store and protect your vinyl car wrap to prevent damage and fading. By taking a few simple steps, you can ensure your wrap remains in excellent condition for years to come. Start by parking your vehicle in a cool, dry place away from direct sunlight. This will help prevent fading and damage to the wrap.
Next, consider using a high-quality cover or wrap to protect your vehicle from dust, dirt, and other debris. Look for a cover that is specifically designed for vinyl car wraps, and that is breathable to prevent moisture buildup. You can also use a storage bag or container to keep your wrap clean and dry when not in use.
By following these storage and protection tips, you’ll be able to keep your vinyl car wrap looking like new, even when it’s not in use. So, take the time to store and protect your wrap, and it will reward you with a stunning appearance that will turn heads on the road!
How long does a vinyl car wrap typically last?
A vinyl car wrap can last anywhere from 5 to 10 years, depending on the quality of the wrap, how well it is maintained, and the environmental conditions it is exposed to.
Can I install a vinyl car wrap myself, or do I need to hire a professional?
While it’s possible to install a vinyl car wrap yourself, hiring a professional is recommended to ensure a high-quality, bubble-free installation.
How do I remove a vinyl car wrap?
Removing a vinyl car wrap can be a bit tricky, but it can be done with the right tools and techniques. Start by applying heat to the wrap to loosen the adhesive, then gently peel the wrap away from the surface.
Can I wash my car with a vinyl car wrap?
Yes, you can wash your car with a vinyl car wrap, but be sure to use a mild soap and avoid using high-pressure washes or abrasive cleaners.
Will a vinyl car wrap damage my car’s paint job?
No, a vinyl car wrap will not damage your car’s paint job. In fact, it can help protect the paint from minor scratches and fading.


